RabbitMQ is an open source message broker software that implements the Advanced Message Queuing Protocol (AMQP) and Streaming Text Oriented Messaging Protocol, Message Queuing Telemetry Transport, and other protocols via a Plugins.
To get started, provision an Ubuntu 20.04 EC2 instance and connect to it via SSH.
Step 1: Install Erlang
sudo apt update
sudo apt install erlang
Step 2: Add RabbitMQ to Ubuntu
Enable apt HTTPS transport
sudo apt install apt-transport-https
Get RabbitMQ keys
wget -O- https://dl.bintray.com/rabbitmq/Keys/rabbitmq-release-signing-key.asc | sudo apt-key add -
wget -O- https://www.rabbitmq.com/rabbitmq-release-signing-key.asc | sudo apt-key add -
Add RabbitMQ Repository (this assumes you’re on focal - Ubuntu 20.04)
echo "deb https://dl.bintray.com/rabbitmq-erlang/debian focal erlang-22.x" | sudo tee /etc/apt/sources.list.d/rabbitmq.list
Step 3: Install RabbitMQ
sudo apt update
sudo apt install rabbitmq-server
Check status. RabbitMQ service is started and enabled after installation.
sudo systemctl status rabbitmq-server.service
Check if RabbitMQ service is configured to start on boot.
sudo service rabbitmq-server start
If disabled, enable it with
sudo systemctl enable rabbitmq-server
Enable RabbitMQ Management Web Dashboard
sudo rabbitmq-plugins enable rabbitmq_management
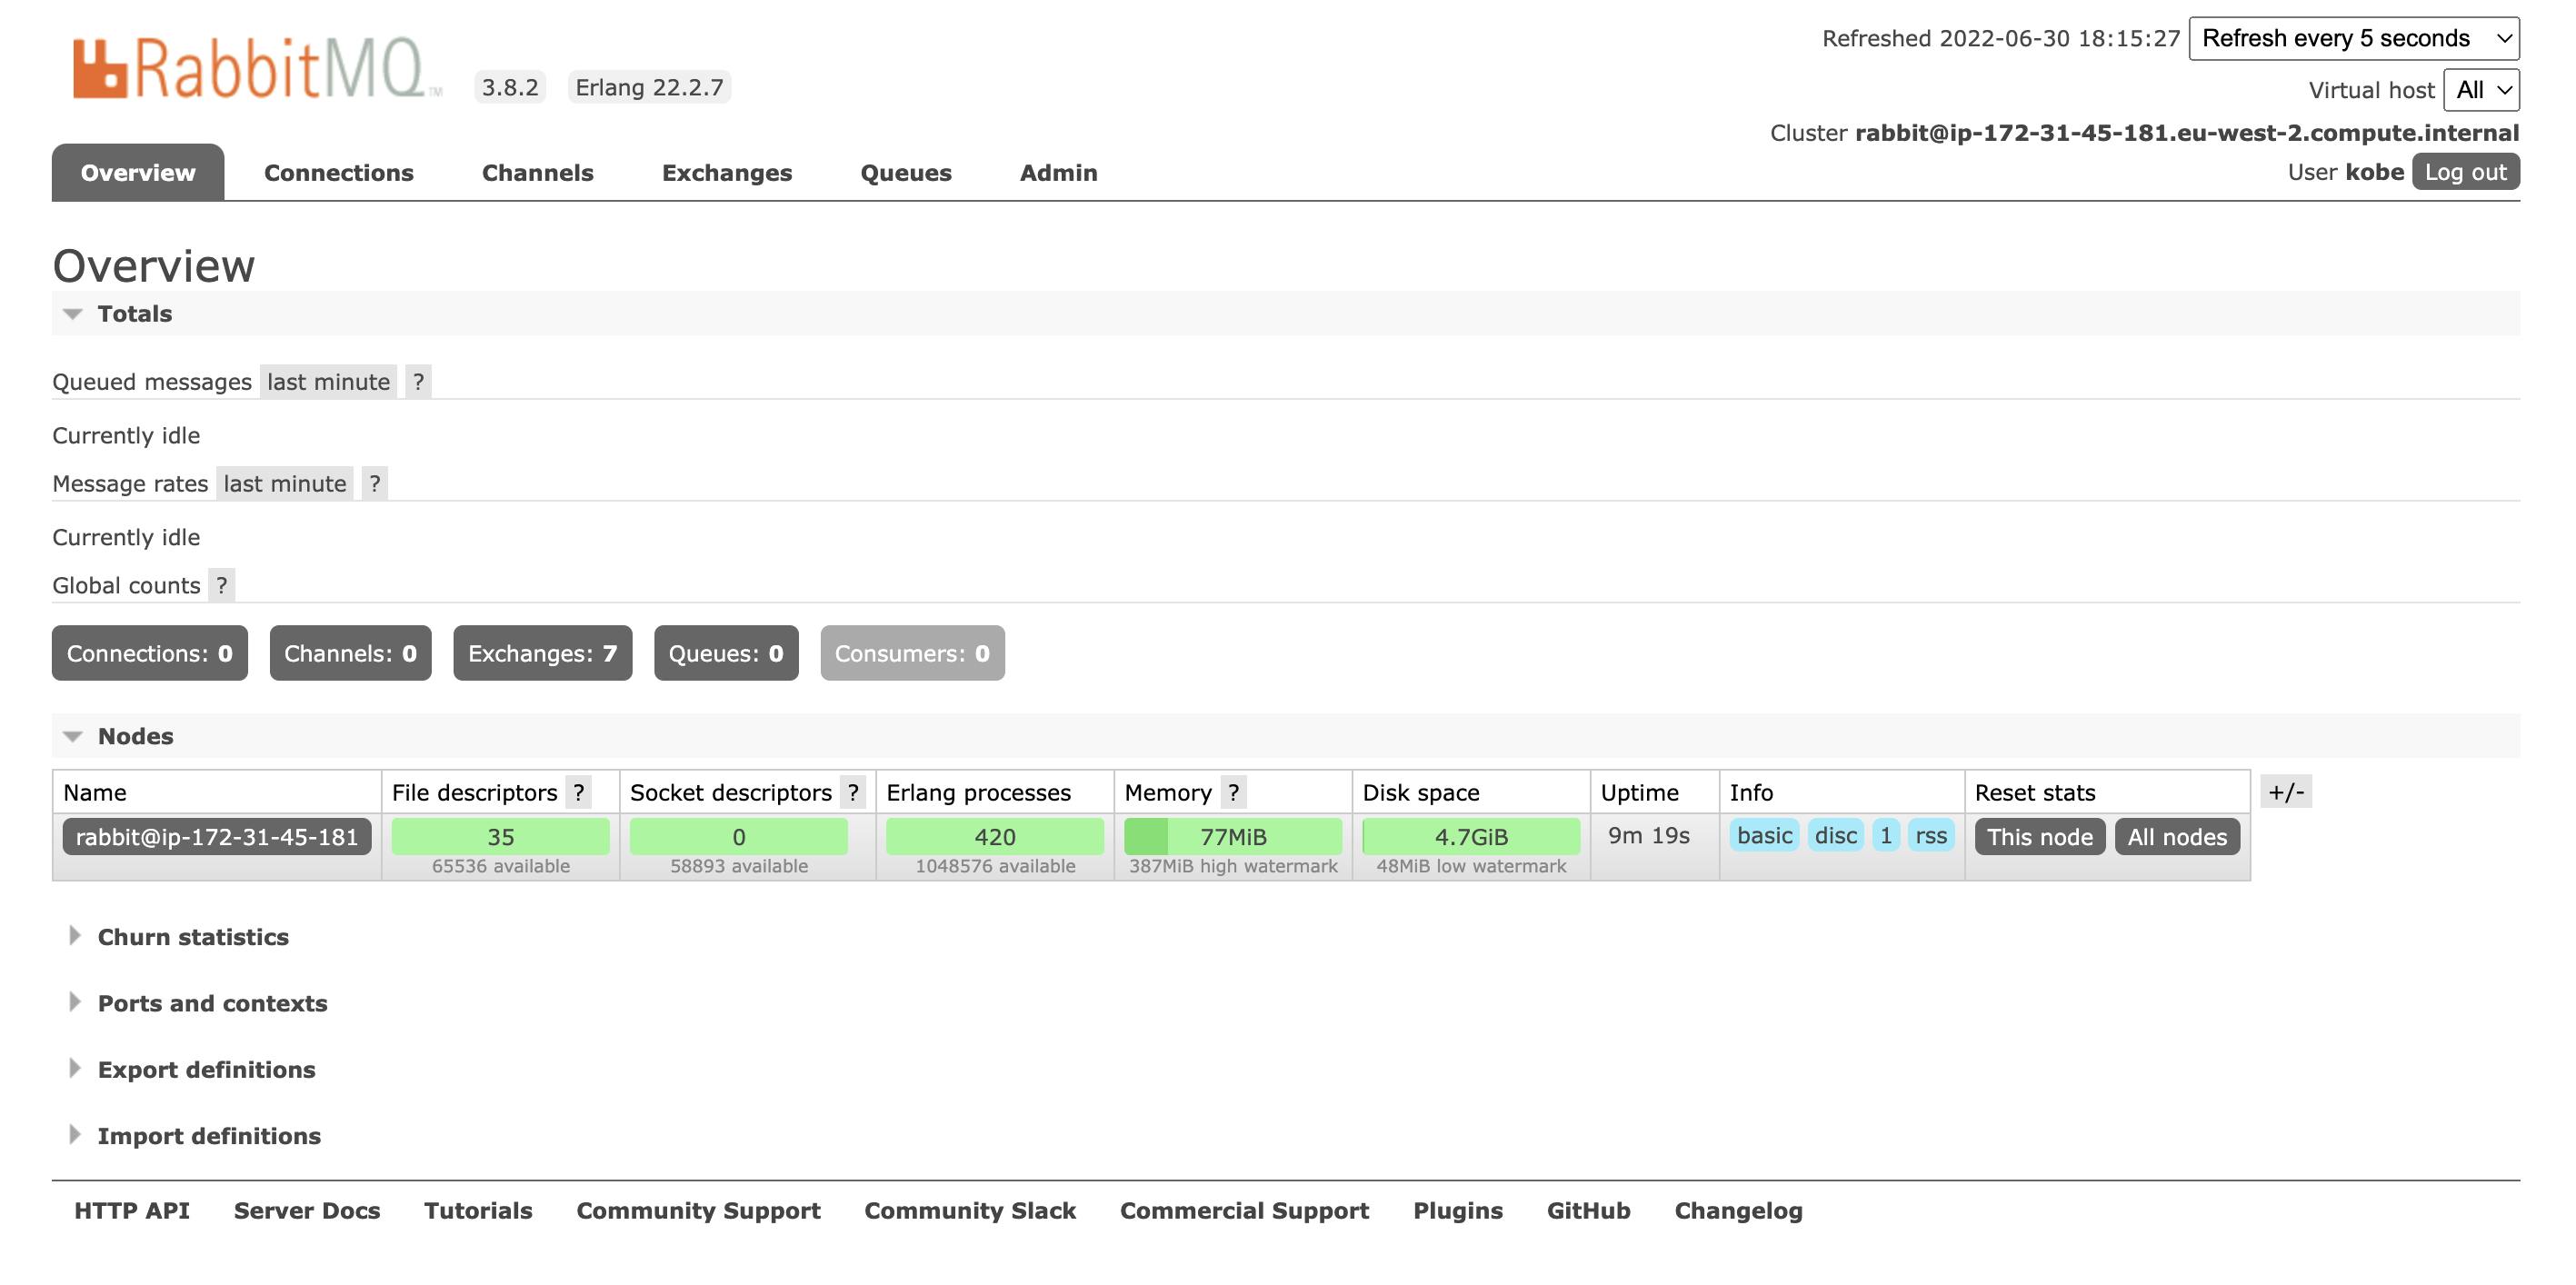
This web service listens on TCP Port 15672. Open http://server ip/hostname:15672 in your browser to access the dashboard.

By default, the service creates a user 'guest' account with password ‘guest’. This can only be used when accessing on a localhost.
To login on a network, create an admin user account. See below.
Creating Users
Create user or admin user using the command below
sudo rabbitmqctl add_user <username> <password>
example: sudo rabbitmqctl add_user admin adminpassword
Add tags: administrator, management, monitoring, policymaker
sudo rabbitmqctl set_user_tags <username> administrator
In the above command, the tag ‘administrator’ gives user full management UI and HTTP API access. Non administrator users should not be assigned a tag.
Now, set/grant permissions to the user. This grants the user access to all virtual hosts(vhosts).
sudo rabbitmqctl set_permissions <username> ".*" ".*" ".*"
Login to management dashboard http://server ip/hostname:15672 as admin.
Port Access
To connect to rabbitmq using AMQP 0-9-1 and 1.0 clients with and without TLS, use port 5672 or 5671.
amqp://username:password.<server ip/hostname>:5672//
For management UI, HTTP API access, use port 15672 in your browser http://server ip/hostname:15672.

