Setting up RabbitMQ on Amazon EC2
RabbitMQ is an open source message broker software that implements the Advanced Message Queuing Protocol (AMQP) and Streaming Text Oriented Messaging Protocol, Message Queuing Telemetry Transport, and other protocols via a Plugins.
To get started, provision an Ubuntu 20.04 EC2 instance and connect to it via SSH.
Step 1: Install Erlang
sudo apt update
sudo apt install erlang
Step 2: Add RabbitMQ to Ubuntu
Enable apt HTTPS transport
sudo apt install apt-transport-https
Get RabbitMQ keys
wget -O- https://dl.bintray.com/rabbitmq/Keys/rabbitmq-release-signing-key.asc | sudo apt-key add -
wget -O- https://www.rabbitmq.com/rabbitmq-release-signing-key.asc | sudo apt-key add -
Add RabbitMQ Repository (this assumes you’re on focal - Ubuntu 20.04)
echo "deb https://dl.bintray.com/rabbitmq-erlang/debian focal erlang-22.x" | sudo tee /etc/apt/sources.list.d/rabbitmq.list
Step 3: Install RabbitMQ
sudo apt update
sudo apt install rabbitmq-server
Check status. RabbitMQ service is started and enabled after installation.
sudo systemctl status rabbitmq-server.service
Check if RabbitMQ service is configured to start on boot.
sudo service rabbitmq-server start
If disabled, enable it with
sudo systemctl enable rabbitmq-server
Enable RabbitMQ Management Web Dashboard
sudo rabbitmq-plugins enable rabbitmq_management
This web service listens on TCP Port 15672. Open http://server ip/hostname:15672 in your browser to access the dashboard.
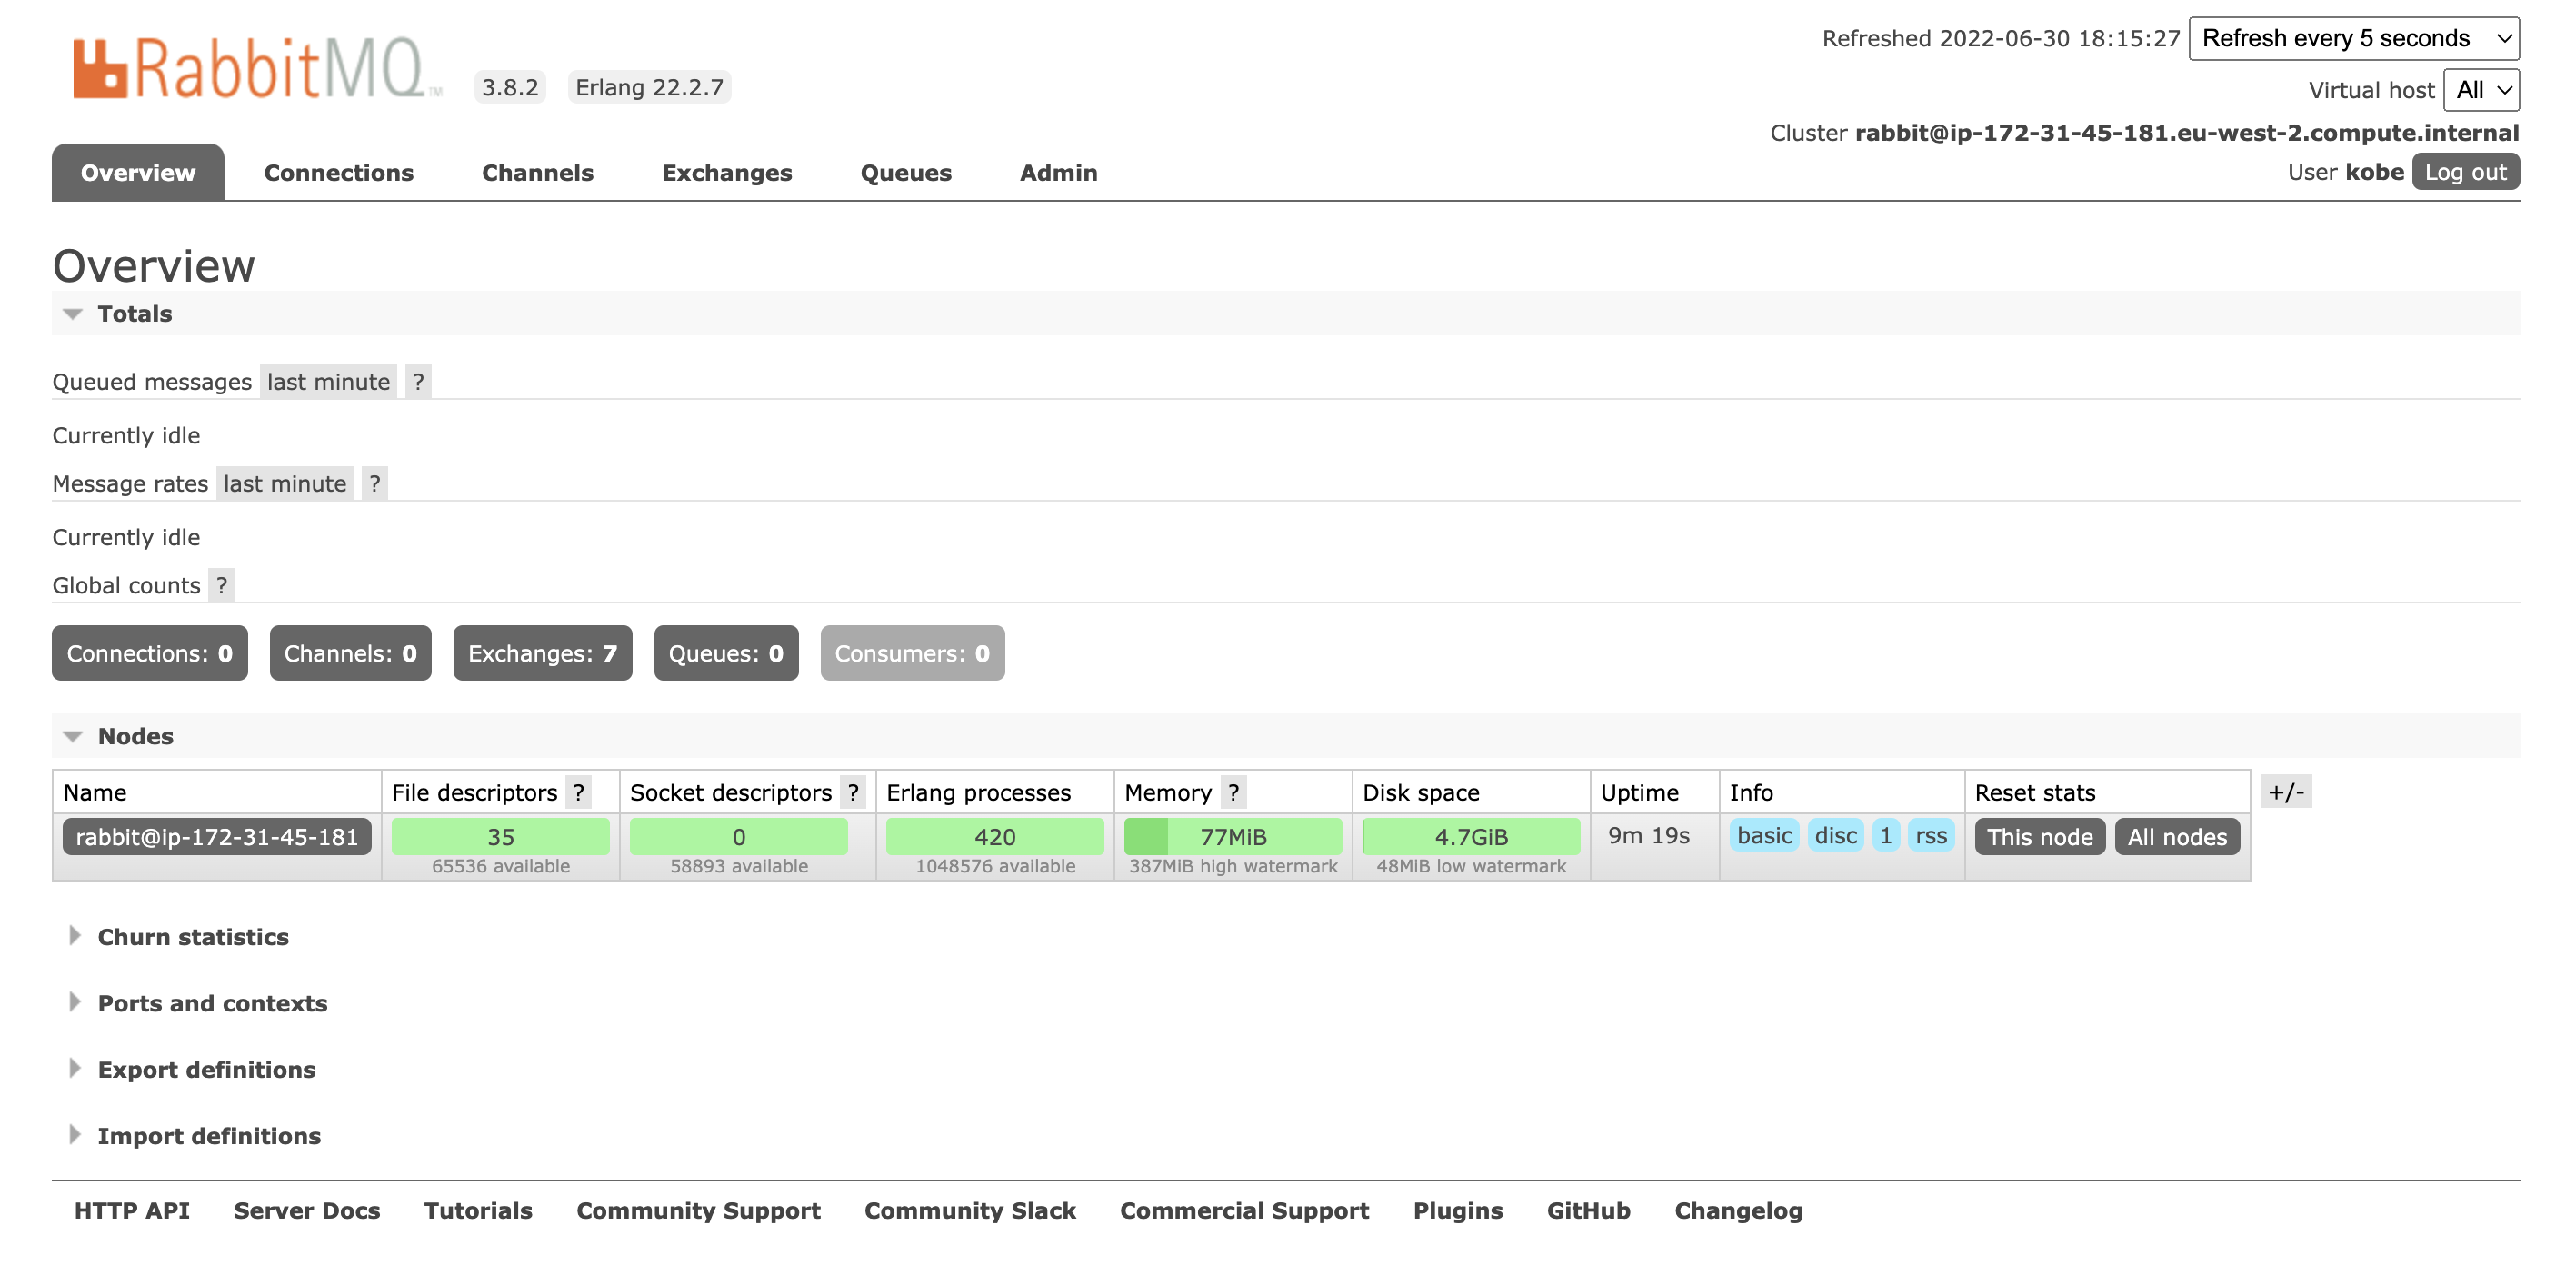
By default, the service creates a user 'guest' account with password ‘guest’. This can only be used when accessing on a localhost.
To login on a network, create an admin user account. See below.
Creating Users
Create user or admin user using the command below
sudo rabbitmqctl add_user <username> <password>
example: sudo rabbitmqctl add_user admin adminpassword
Add tags: administrator, management, monitoring, policymaker
sudo rabbitmqctl set_user_tags <username> administrator
In the above command, the tag ‘administrator’ gives user full management UI and HTTP API access. Non administrator users should not be assigned a tag.
Now, set/grant permissions to the user. This grants the user access to all virtual hosts(vhosts).
sudo rabbitmqctl set_permissions <username> ".*" ".*" ".*"
Login to management dashboard http://server ip/hostname:15672 as admin.
Port Access
To connect to rabbitmq using AMQP 0-9-1 and 1.0 clients with and without TLS, use port 5672 or 5671.
amqp://username:password.<server ip/hostname>:5672//
For management UI, HTTP API access, use port 15672 in your browser http://server ip/hostname:15672.
References
https://www.rabbitmq.com/ec2.html
https://www.rabbitmq.com/install-debian.html
https://computingforgeeks.com/how-to-install-latest-rabbitmq-server-on-ubuntu-linux/
About the author
I am a DevOps Engineer. I wear O-O
Comments
Join the discussionNo comments yet. Be the first to comment.